Complete Guide to Installing LED Display Screen – Easy to Handle No More Difficult
 بواسطةجودي
LED display screens, as the core equipment for modern commercial display and promotion, are increasingly widely used in various fields. The installation of LED display screens directly affects the display effect and service life from shopping malls, airports to outdoor billboards. For people who are new to this type of device, how to correctly install LED displays is a key issue. This article will be divided into several steps, detailing how to ensure the best performance of your display screen from device preparation to installation and debugging completion.
1、 Preparation stage
Preparation work is crucial before installing an LED display screen. This not only affects the installation progress, but also determines the stability and safety of the display screen. The following points must be prepared in advance:
Determine installation location: Clarify the installation location of the display screen, taking into account the viewing angle, lighting, ventilation, and surrounding environment. Ensure a dry and stable installation environment to prevent adverse weather conditions such as humidity or strong winds from affecting the lifespan of the screen. For outdoor LED display screens, waterproof, dustproof, and lightning protection designs must be done well.
Measurement size and power layout: Accurately measure the display screen size according to the predetermined position to ensure the aesthetic and overall coordination after installation. The power layout should meet the requirements to ensure stable power supply. The routing of power and signal lines should be designed reasonably to avoid disorder, and should be as short and straight as possible to reduce signal loss.
Tools and equipment preparation: Installation tools include basic tools such as screwdrivers, drills, multimeters, etc. The LED display body, bracket, control system, and other equipment should also be in place and inspected in advance to ensure that the equipment is not damaged.
2、 Installation process of LED display screen
After the preparation phase is completed, we enter the core installation phase. The installation of LED display screen is divided into three parts: fixed bracket, screen assembly, and wiring debugging:
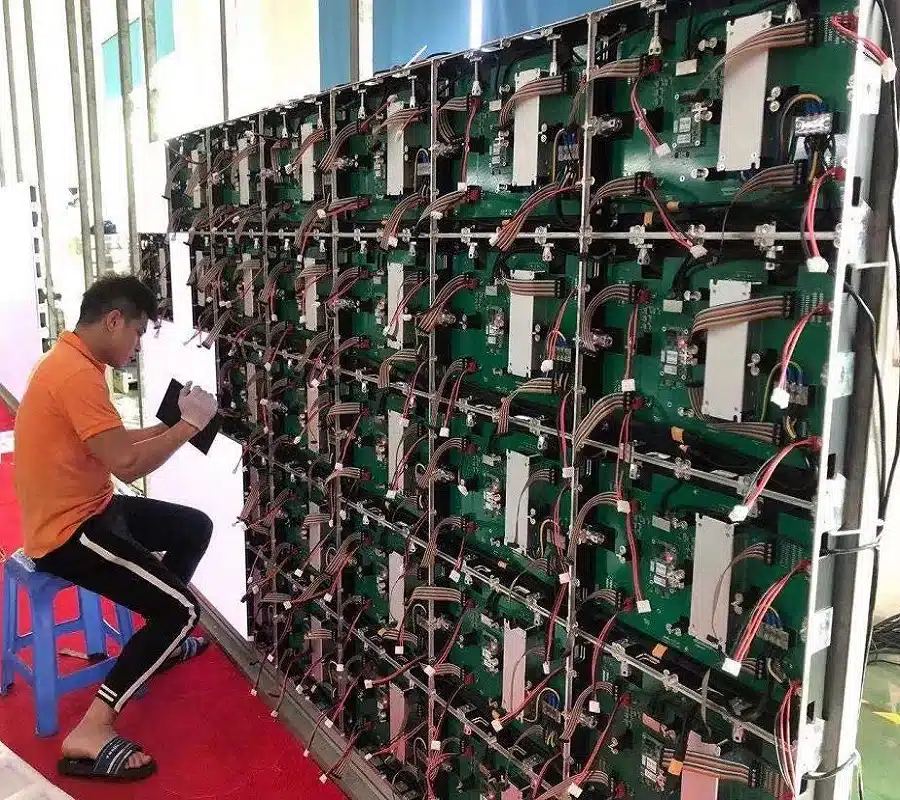
Bracket fixation: The bracket is the foundation for installing LED display screens. According to the preliminary measurement results, use an electric drill to firmly fix the bracket on the wall or other support. When fixing, ensure that the bracket is horizontal and vertical to avoid affecting the installation effect of the subsequent screen. For large display screens, a certain amount of maintenance space needs to be reserved for future maintenance.
Screen assembly: LED display screens are assembled by splicing multiple display modules. During assembly, attention should be paid to the flatness and alignment between modules to ensure even splicing gaps and avoid poor display effects caused by improper assembly. During installation, it is usually installed layer by layer from bottom to top, with each module installed and fixed before conducting an overall inspection.
Wiring and debugging: After the screen assembly is completed, wiring is required. When connecting power and signal lines, follow the product manual or technical guidance diagram to avoid misconnection or short circuit of the circuit. After the wiring is completed, preliminary power on debugging is required to ensure that each module lights up normally and the displayed image is clear and free of defects. If any abnormalities occur, they need to be investigated and fixed one by one.
3、 Debugging and Optimization of LED Display Screen
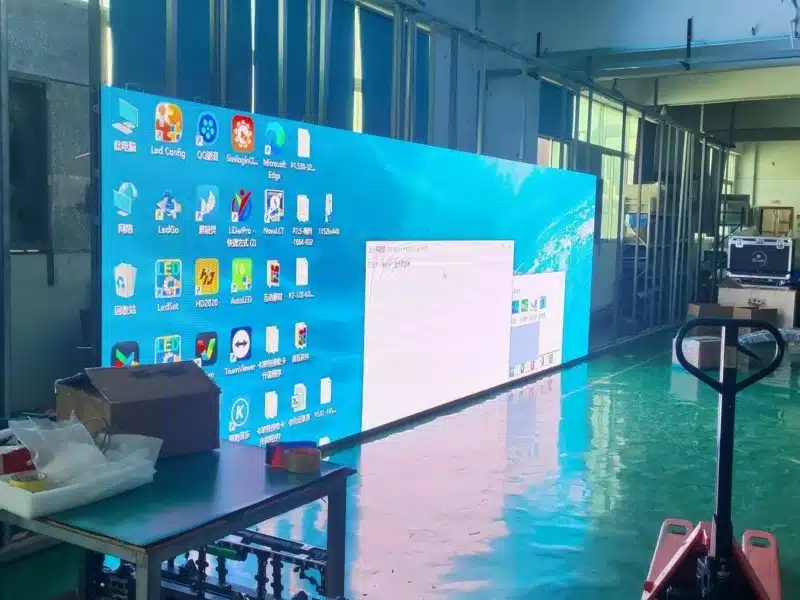
After installation, debugging is an important step to ensure the display effect. Debugging is not only about simple lighting and display, but also includes multiple steps such as color calibration, brightness adjustment, and playback content testing.
Color calibration: The display effect of LED screens may vary in different environments, especially for outdoor and indoor displays. During the debugging phase, RGB colors need to be adjusted according to the actual environment to achieve optimal color saturation and brightness. During the calibration process, it is necessary to check the color consistency of each display module to avoid color block or color difference issues.
Brightness adjustment: Different usage scenarios have different requirements for brightness. It is necessary to reduce brightness at night to avoid glare, and increase brightness during the day to improve visibility. Reasonably adjusting brightness can not only improve display performance, but also extend the service life of LED screens. Most LED displays now support intelligent brightness adjustment, and users can set automatic mode to automatically adjust brightness according to changes in ambient light.
Play content testing: After debugging is completed, it is necessary to perform play content testing. By playing different types of images and videos, check the clarity and smoothness of the display screen, as well as whether there are issues such as flickering and screen breakage. Especially for large advertising screens, the effectiveness of content playback directly determines the visual impact and communication effect of the advertisement.
4、 Subsequent maintenance and upkeep
After the installation and debugging of the LED display screen is completed, daily maintenance and upkeep are crucial. Even if the installation is professional, without regular maintenance, the lifespan and performance of the display screen will be affected.
Regularly check the circuit and interface: LED display screens have many circuit and signal interfaces, which can easily cause poor contact due to external factors during daily use. It is recommended to conduct a comprehensive inspection once a month to ensure the cleanliness and stability of the circuits and interfaces.
Clean the surface of the display screen: Dust and dirt will gradually accumulate on the surface of the display screen, affecting the display effect. When cleaning, use a soft dry cloth or specialized cleaning agent to prevent liquid from seeping into the interior of the screen and causing a short circuit.
Software and firmware updates: Some LED displays are equipped with intelligent control systems, which require regular updates of system software and firmware to ensure stable device operation and obtain the latest features and optimizations.
By following the above steps, you can easily master the installation and debugging skills of LED display screens. Whether it’s the first installation or daily use, as long as you follow these methods, you can ensure that the display screen always maintains its optimal state and presents excellent visual effects.
Summary:
The installation of LED display screens may seem complicated, but as long as you make the necessary preparations, follow the steps, and maintain them regularly, you can easily solve various problems. I hope this comprehensive guide can provide you with practical help.
