The Complete Process of Installing an LED Display in Chiang Mai, Thailand
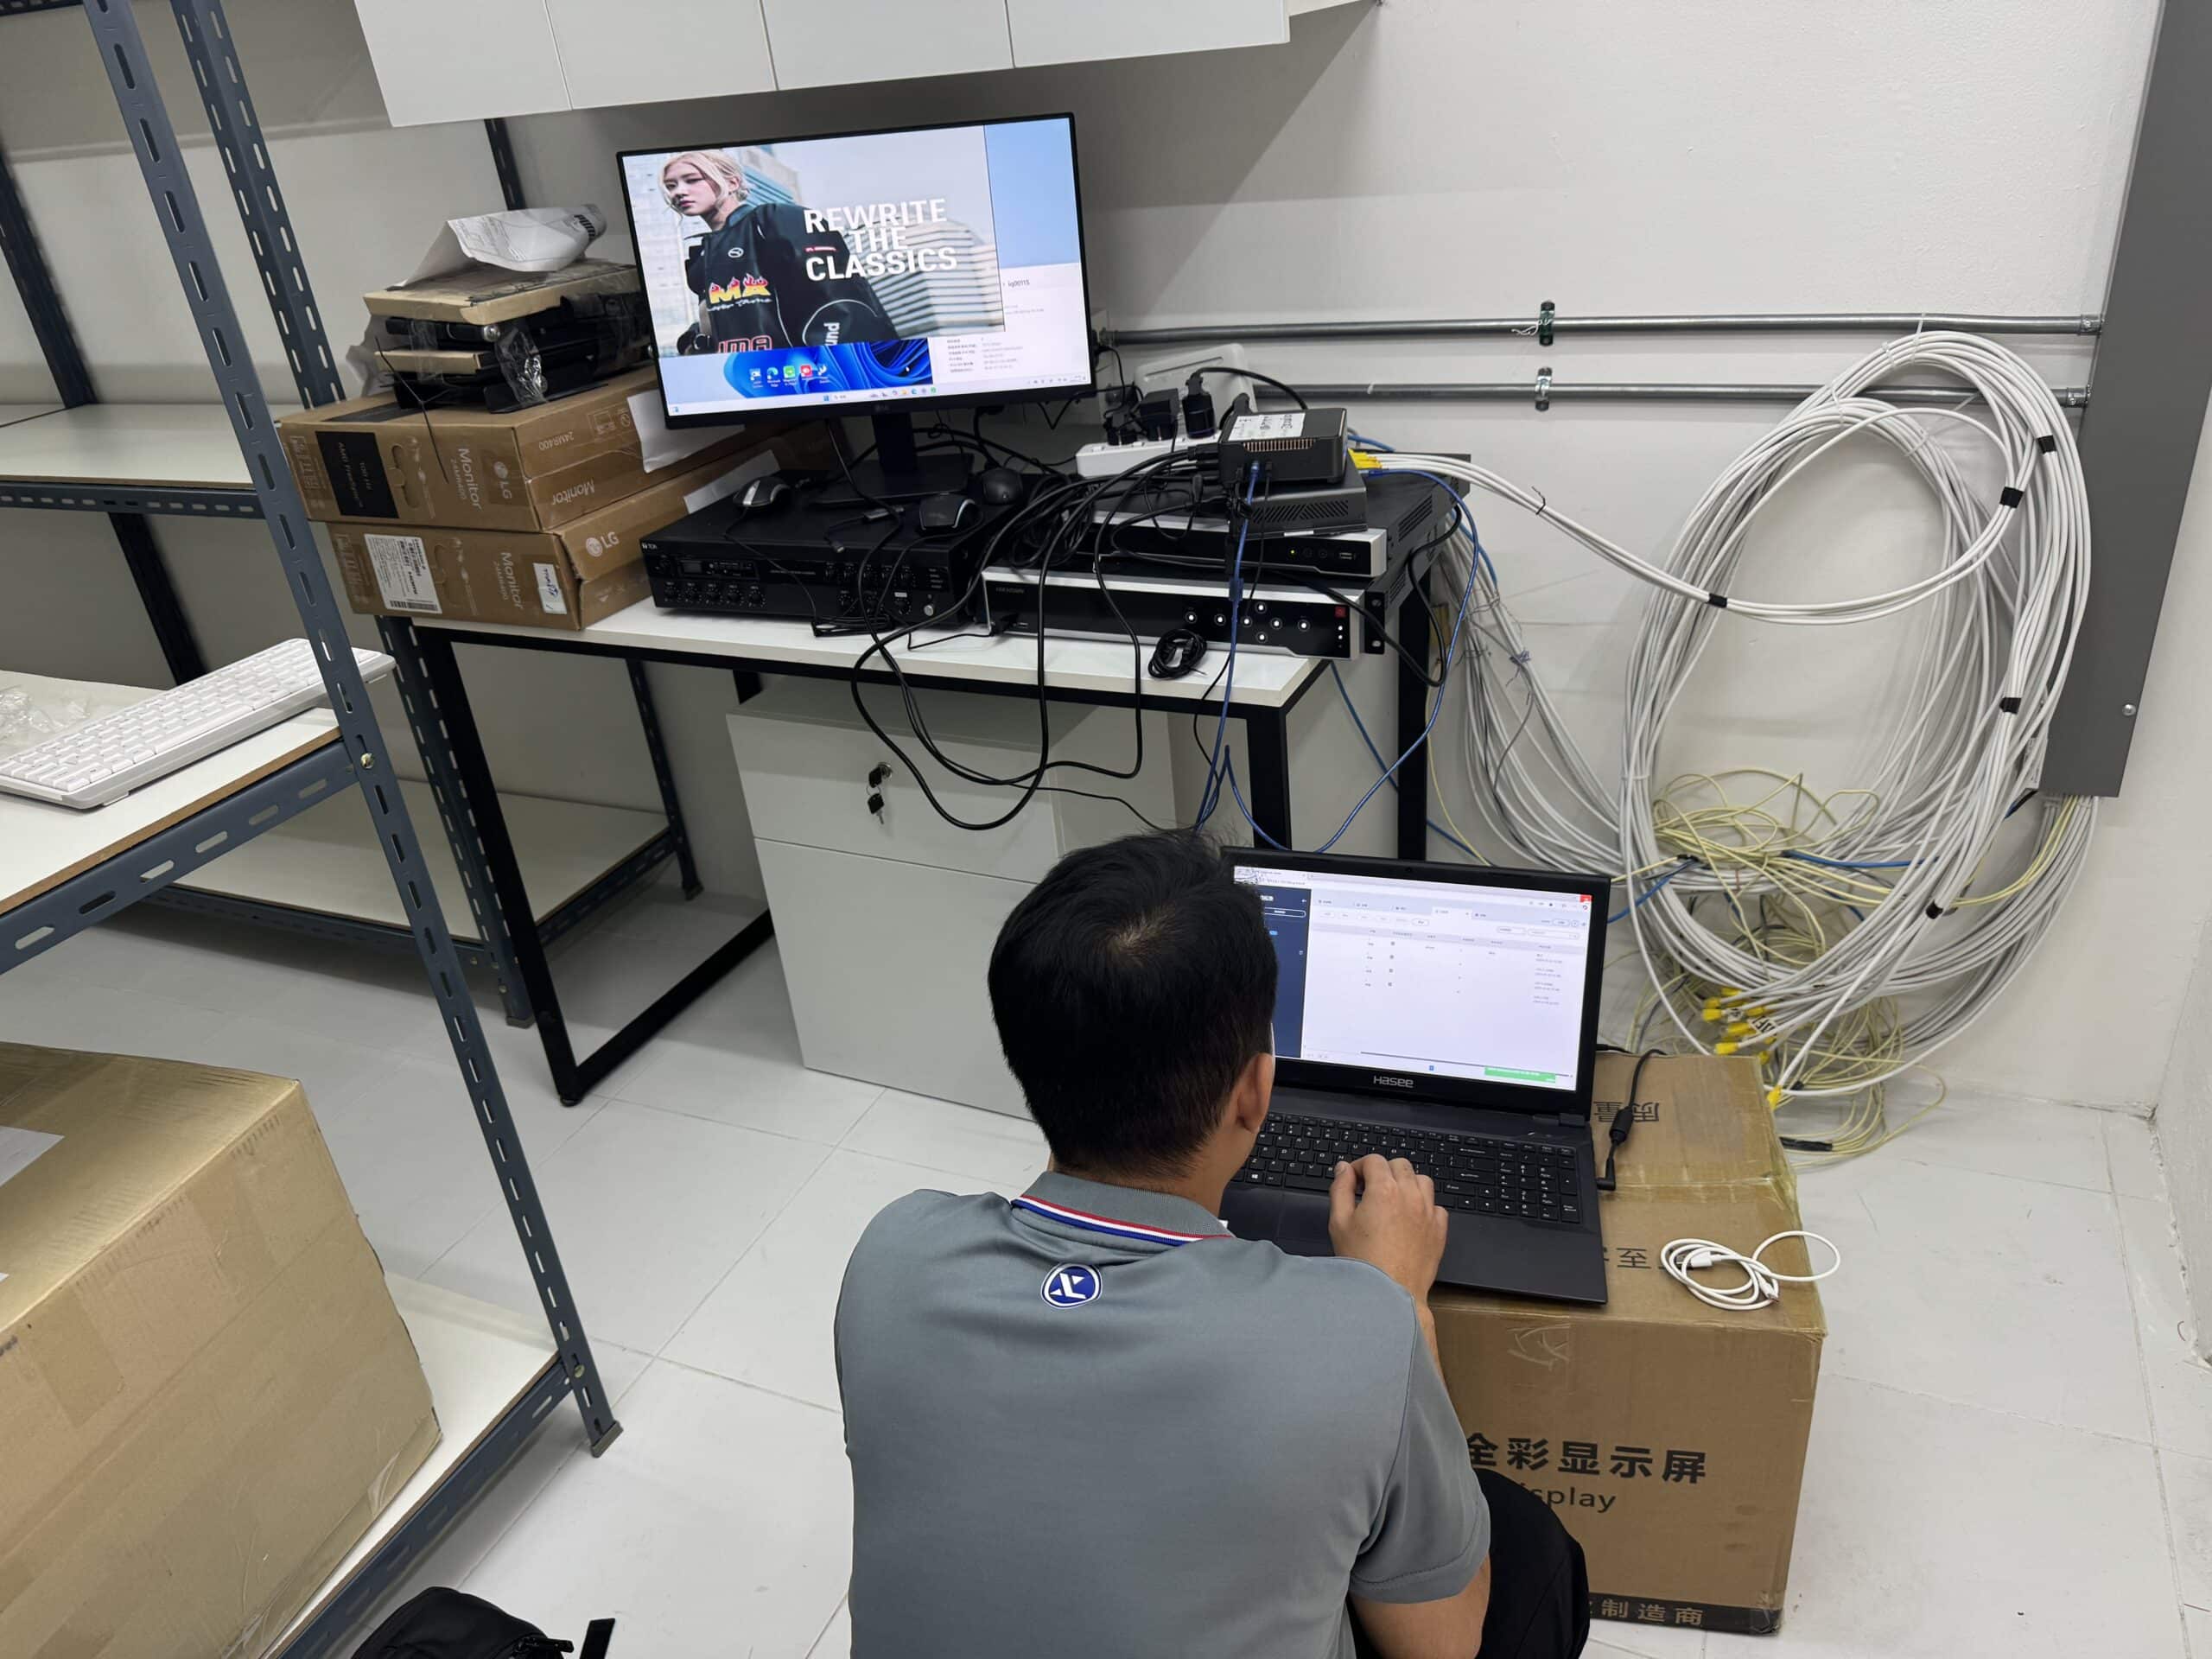
After detailed communication with the client, we decided to use a P3 high-brightness LED display with dimensions of 4800 x 2560 mm. The renovation team was instructed to reserve the exact frame dimensions for the LED display. Our engineers provided the electrical diagrams, and the renovation team ensured the necessary power supply and network cables were pre-installed.
Furthermore, selecting the right LED display is crucial for ensuring vibrant visuals. LED displays are known for their excellent brightness and contrast, making them ideal for both indoor and outdoor settings. High-brightness models, like the P3, offer enhanced visibility even in sunlight, which is particularly beneficial in a sunny locale like Chiang Mai. We also discussed the importance of considering pixel pitch for viewing distance—lower pixel pitches provide higher resolution, allowing viewers to see finer details from close up.
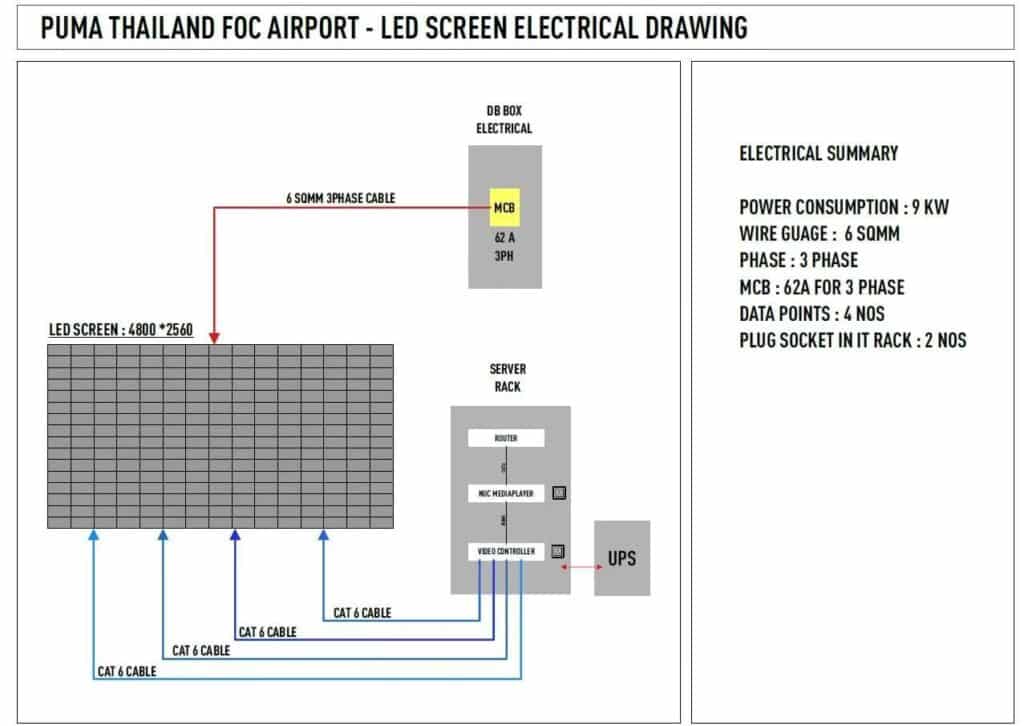
To further elaborate, the installation plan was designed with careful consideration of Chiang Mai’s unique environmental factors, including humidity and temperature variations. This meticulous planning ensures that the LED display operates optimally throughout the year, providing reliable performance and reducing the need for frequent maintenance.
Based on the site conditions, we developed the following installation plan:
- Bracket Design: A steel frame structure was chosen to ensure the display’s stability and resistance to pressure and seismic activity.
- Power Wiring: Hidden wiring was implemented to enhance aesthetics and prevent external damage.
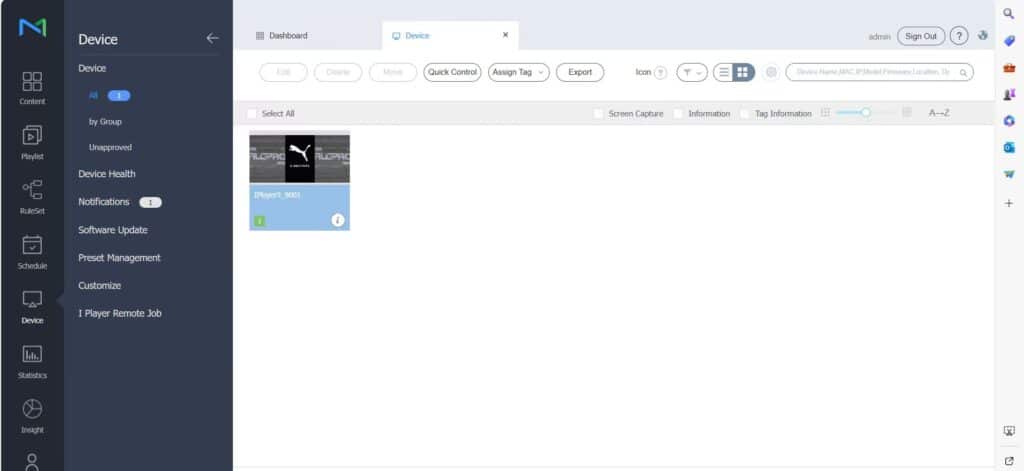
- Control System: Remote intelligent control software was selected, allowing the client to operate the system easily via computer or smartphone. Additionally, we customized a Magic NFO publishing system for the client.
Moreover, our engineers took extra precautions during installation to ensure safety, given the considerable dimensions and weight of the display. Utilizing safety harnesses and following strict protocols helped mitigate risks associated with working at heights.
Additionally, it was vital to maintain open lines of communication with the client during the installation process. Daily updates on progress and any challenges encountered allowed for prompt decision-making and adjustments as necessary, ensuring the project stayed on track.
Next, our engineers began the installation process:
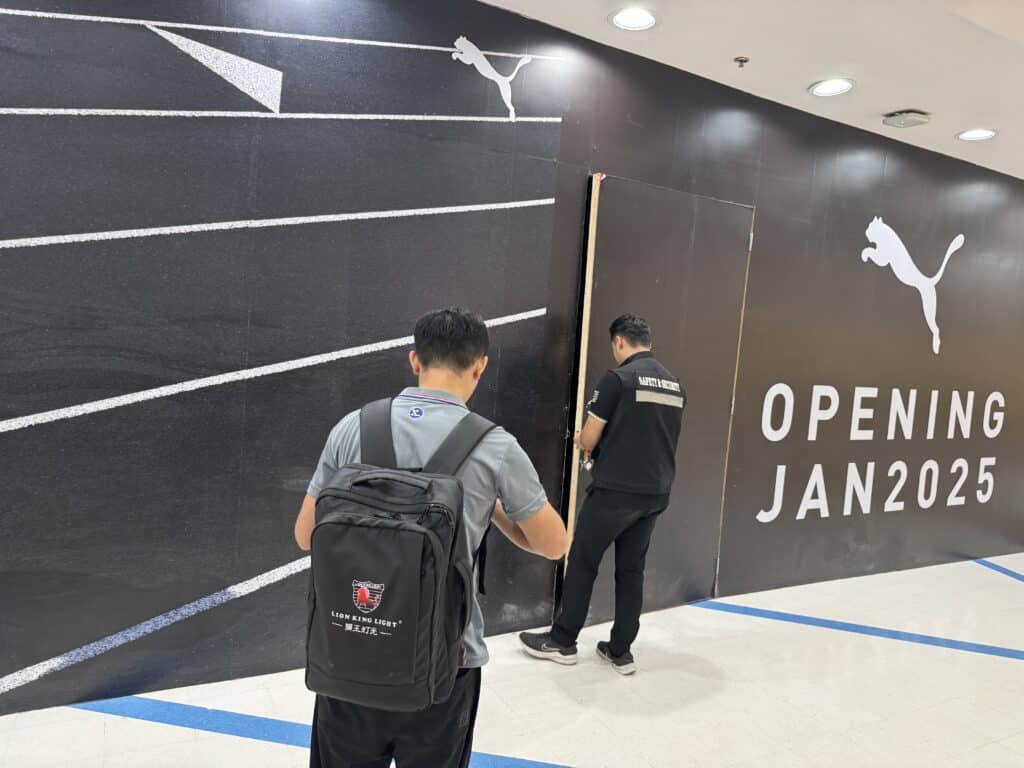
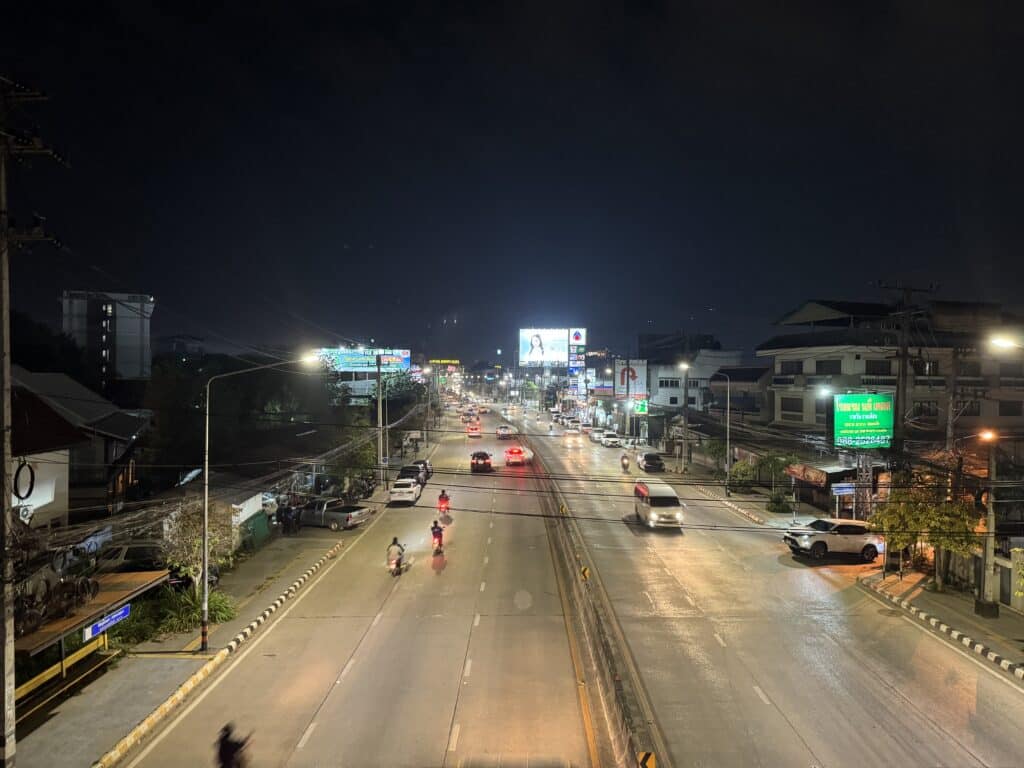
Although it was already December, the weather in Chiang Mai, Thailand, remained sweltering. During the installation days, our engineers commuted daily between the hotel and the client’s store to ensure the project progressed smoothly.

1.Bracket Assembly and Setup
Due to the significant weight of the screen, we reinforced the frame using multiple corner brackets and conducted several tests to ensure the bracket’s stability. This ensured the screen could operate safely and reliably over the long term.
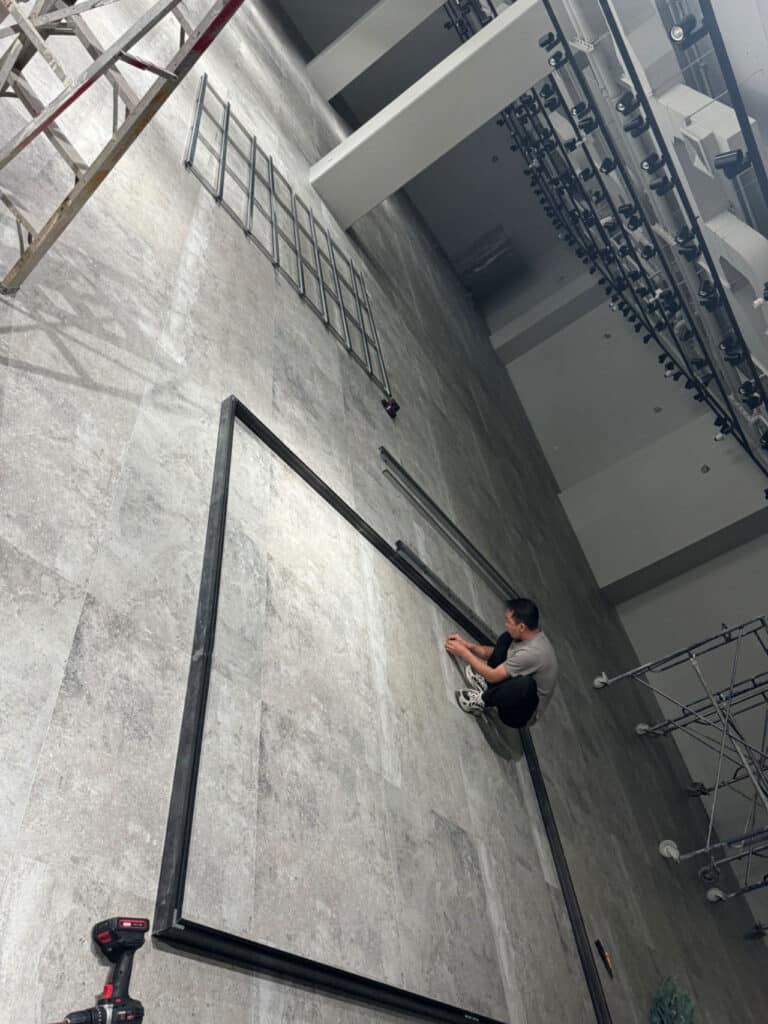
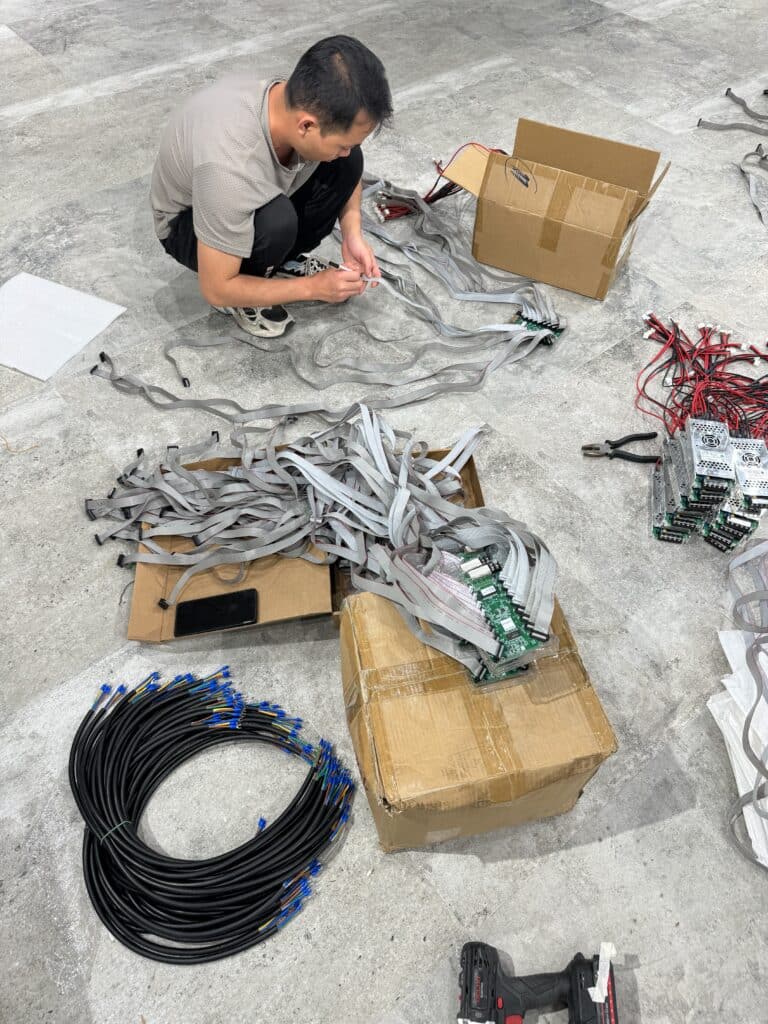
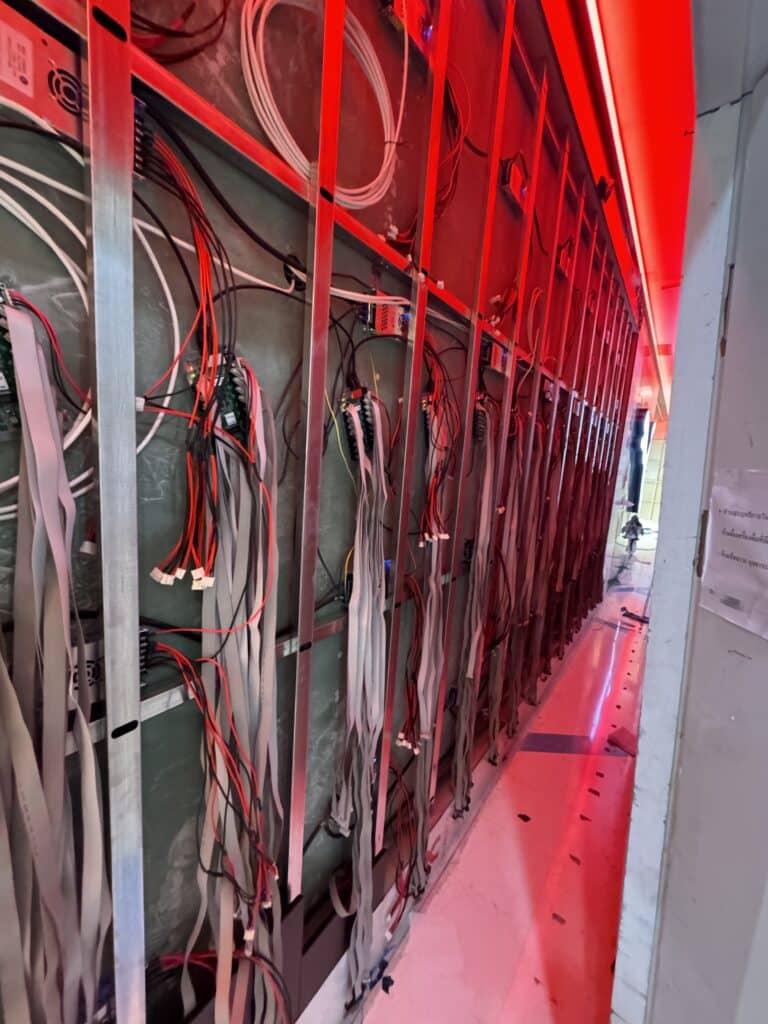
1.1 Importance of Proper Bracket Setup
Furthermore, we also conducted vibration tests on the bracket assembly to simulate real-world conditions. This testing validated our design choices and provided confidence in the durability of the installation.
The bracket assembly is not just about holding the screen; it’s about ensuring it withstands environmental factors such as wind and seismic activities that may occur in Chiang Mai. The reinforced frame design enhances stability, decreasing the risk of damage from external forces.
2. Screen Splicing
The LED screen consists of multiple modules spliced together. During installation, precise adjustments were made to each module’s seams to ensure a flat, seamless display. The presence of the store’s surrounding barricades posed some challenges for our engineers during the installation.
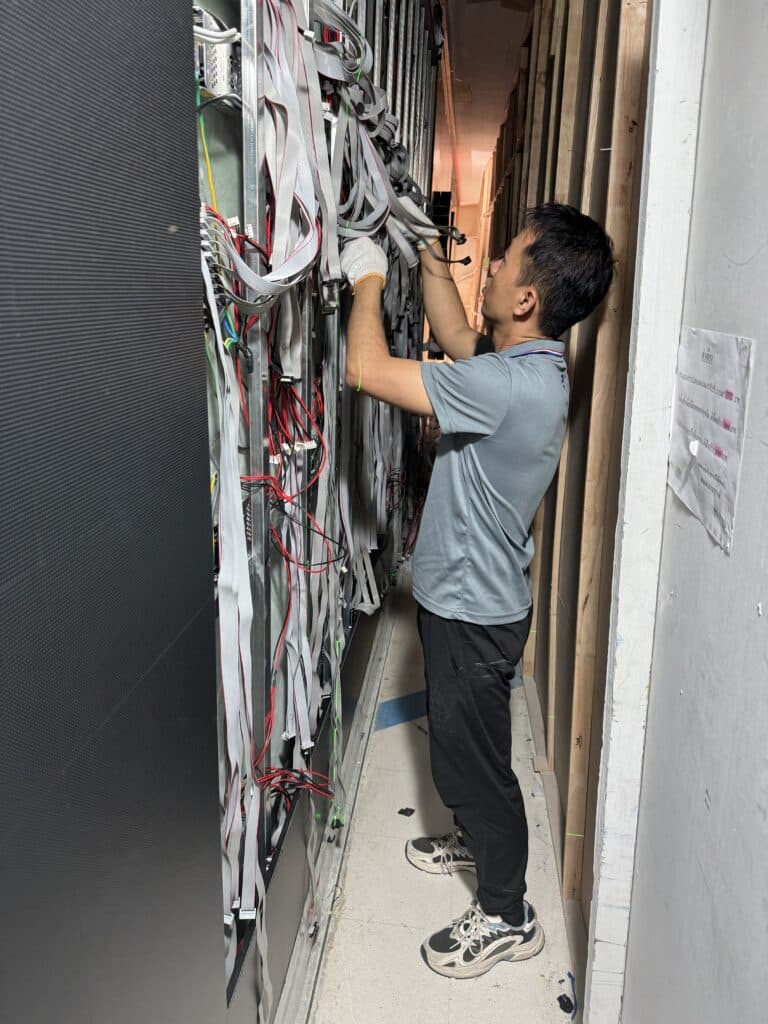
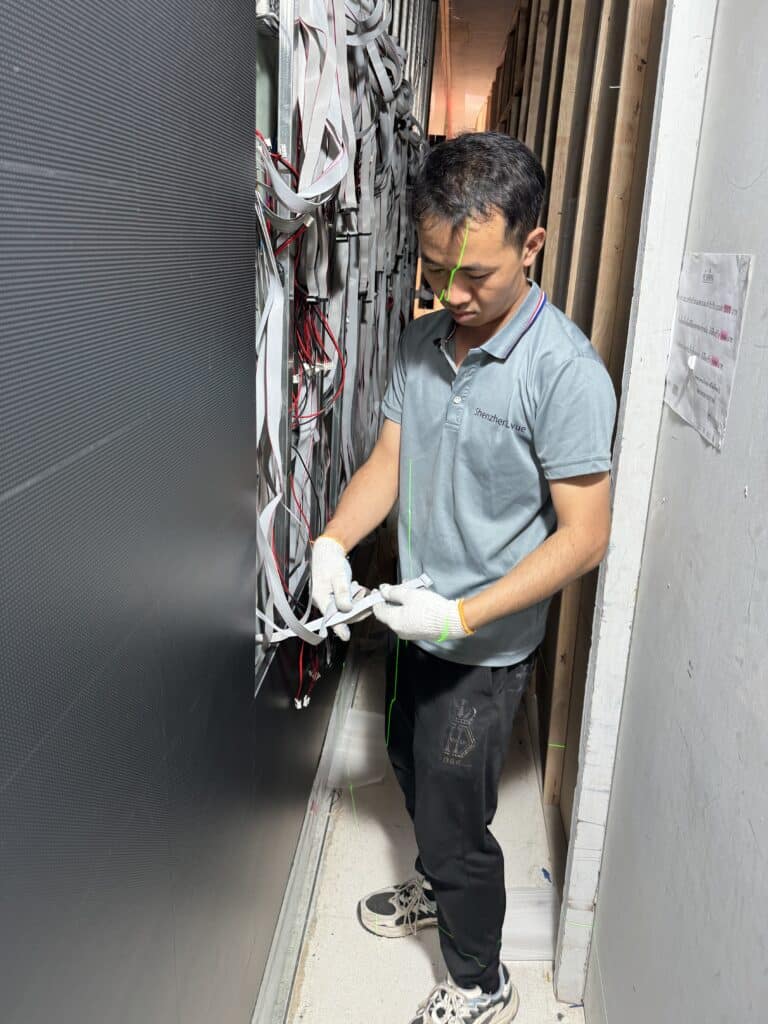
3.Electrical and Signal Debugging
After completing the installation of the screen’s power and control systems, we performed a comprehensive signal test. This ensured every pixel displayed correctly and that the screen’s color and brightness were uniform and consistent.
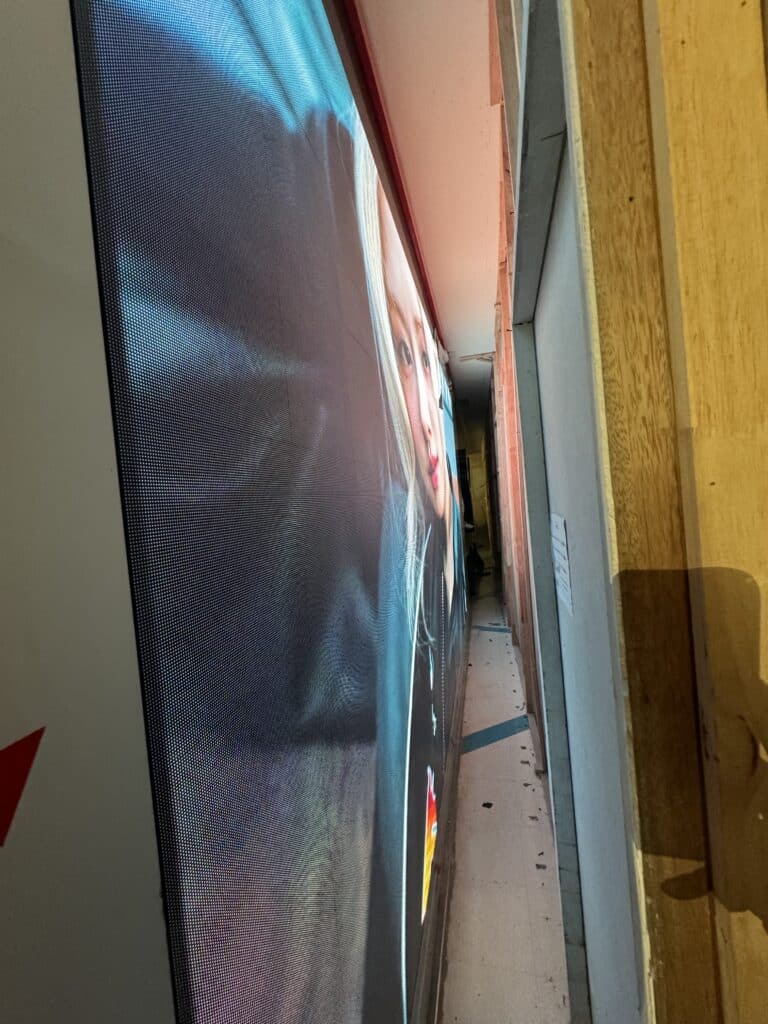
Moreover, the process of screen splicing involves not just technical skill but also artistic flair. Engineers worked meticulously to ensure that colors matched seamlessly across modules, providing a uniform appearance. They utilized calibration tools that allowed for precise adjustments, ensuring that every module blended flawlessly with its neighbors.
4. Software Debugging and Training
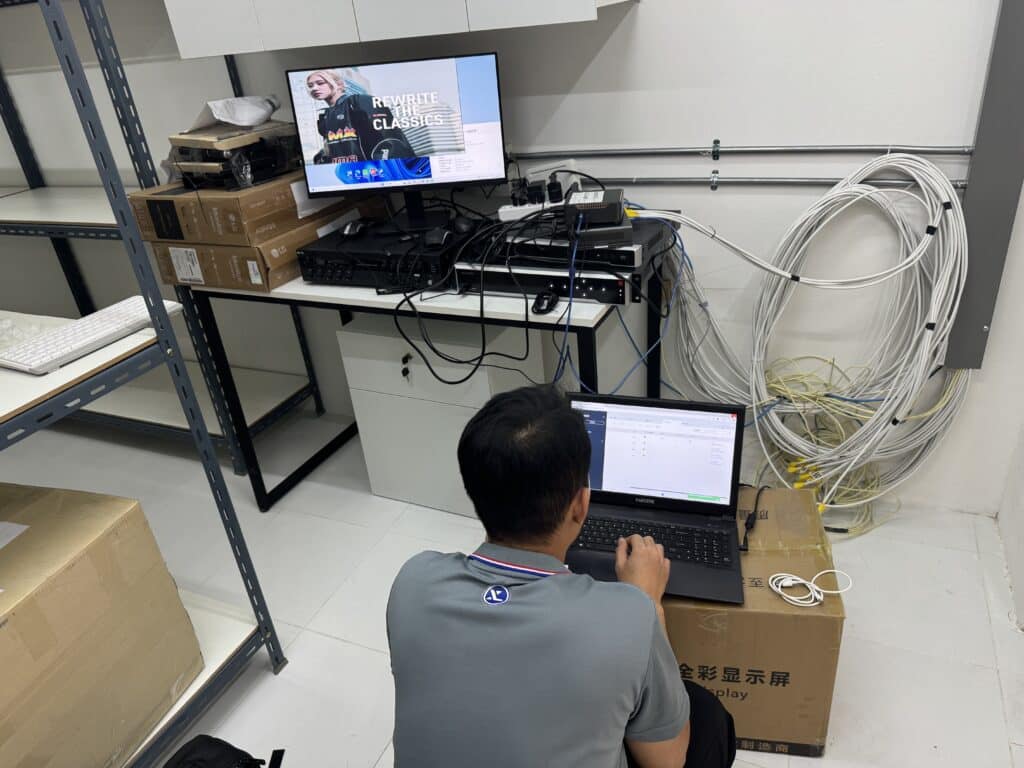
Once the hardware installation was complete, we began software debugging. Using the intelligent control system, the client could remotely upload and switch content via a smartphone or computer. To ensure the client was proficient in operating the system, we conducted a detailed on-site training session, demonstrating essential functions such as content management, scheduled playback, and basic troubleshooting.
5.Acceptance and Feedback
In addition, we focused on the electrical aspects by implementing redundancy in our power supply. This built-in feature guarantees that if one power source fails, an alternative takes over, ensuring uninterrupted operation—a crucial aspect for high-traffic areas such as shopping centers.
Also, the debugging phase was not limited to just the display itself. We tested the control software extensively to ensure all features worked as intended. This included simulating various scenarios the client might encounter during regular operations, ensuring they were fully prepared for any situation that might arise.
On the project’s acceptance day, we conducted a final comprehensive inspection of the screen’s display quality and operational status. The client was extremely satisfied with the screen’s clarity and the overall installation. The crisp visuals attracted the attention of many passersby, significantly increasing foot traffic to the store.
Additionally, we provided the client with a comprehensive user manual that included troubleshooting tips and maintenance schedules, empowering them to manage the display effectively long after our team concluded the installation.
Lastly, we encouraged the client to gather feedback from their customers regarding the LED display. This input is invaluable for understanding how the display impacts their business and can provide insights for future enhancements to the content strategy.
In summary, the successful installation of the LED display not only met the client’s expectations but exceeded them, becoming a pivotal part of their marketing strategy. The vibrant visuals and dynamic content created a buzz in the area, leading to increased engagement and, ultimately, higher sales.
